Director Web Portal
Overview
Events
1. Organization events section. Create or modify all your events from this section.
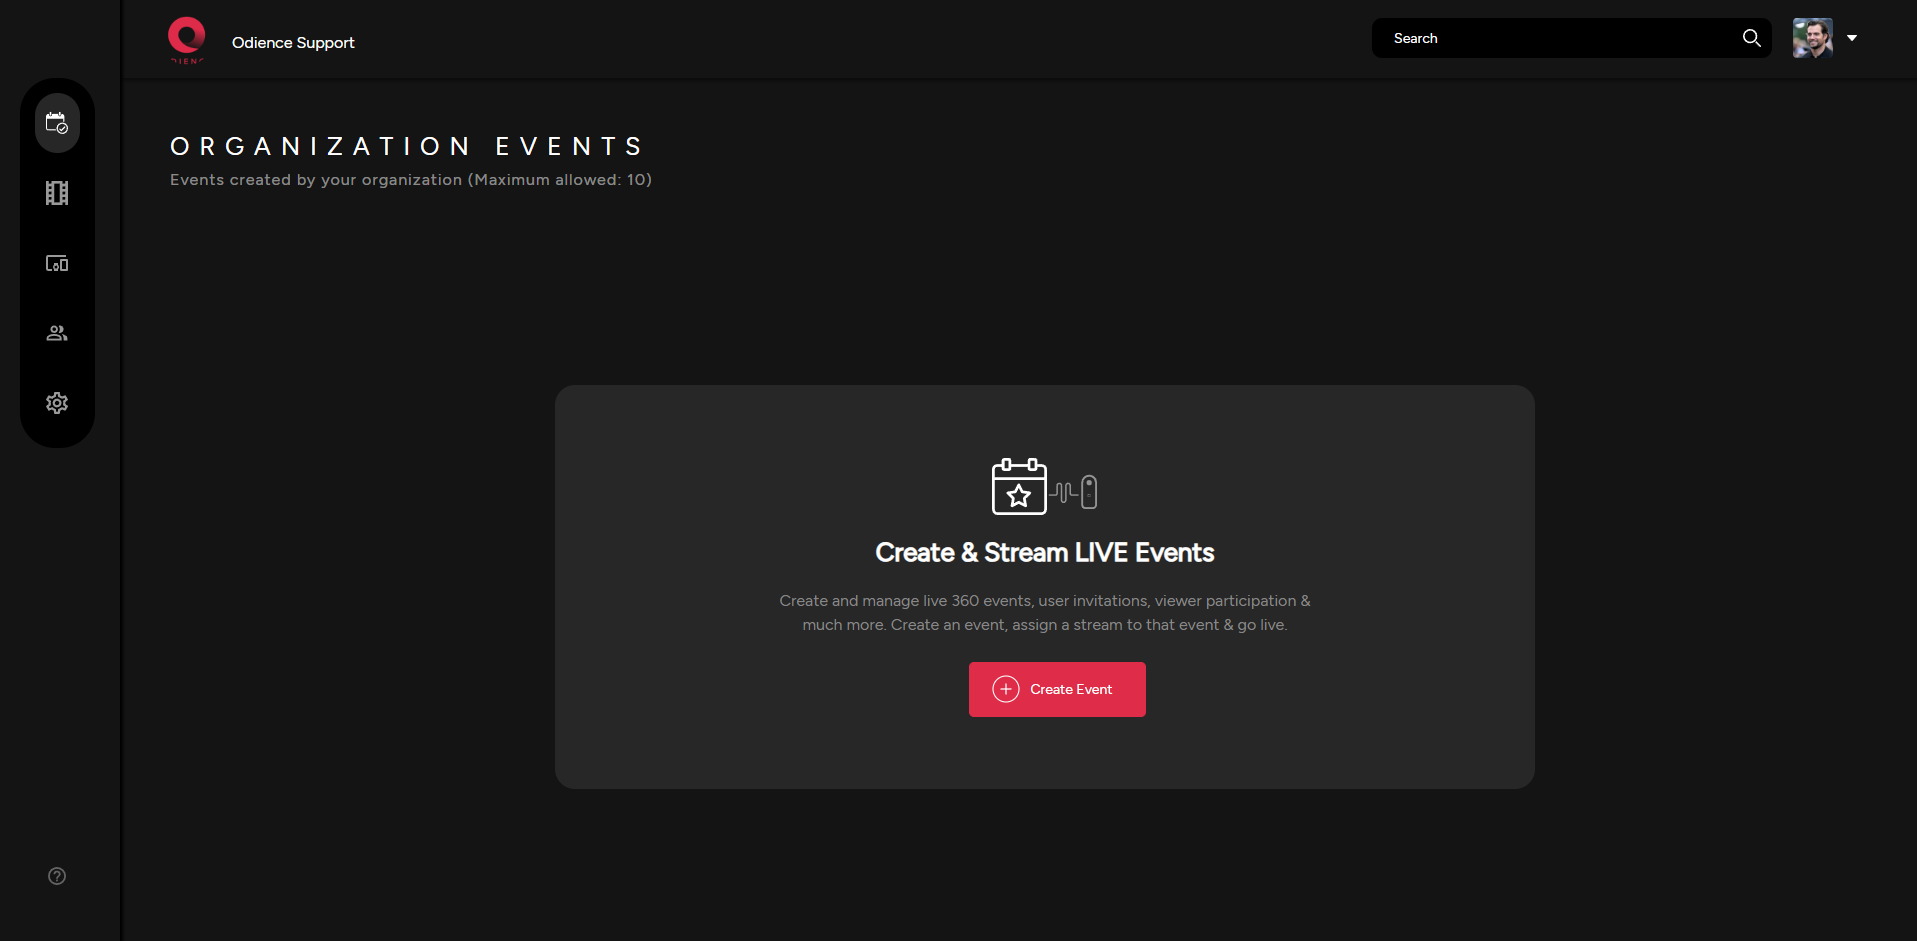
- For more information, see our guide on how to Create an Event.
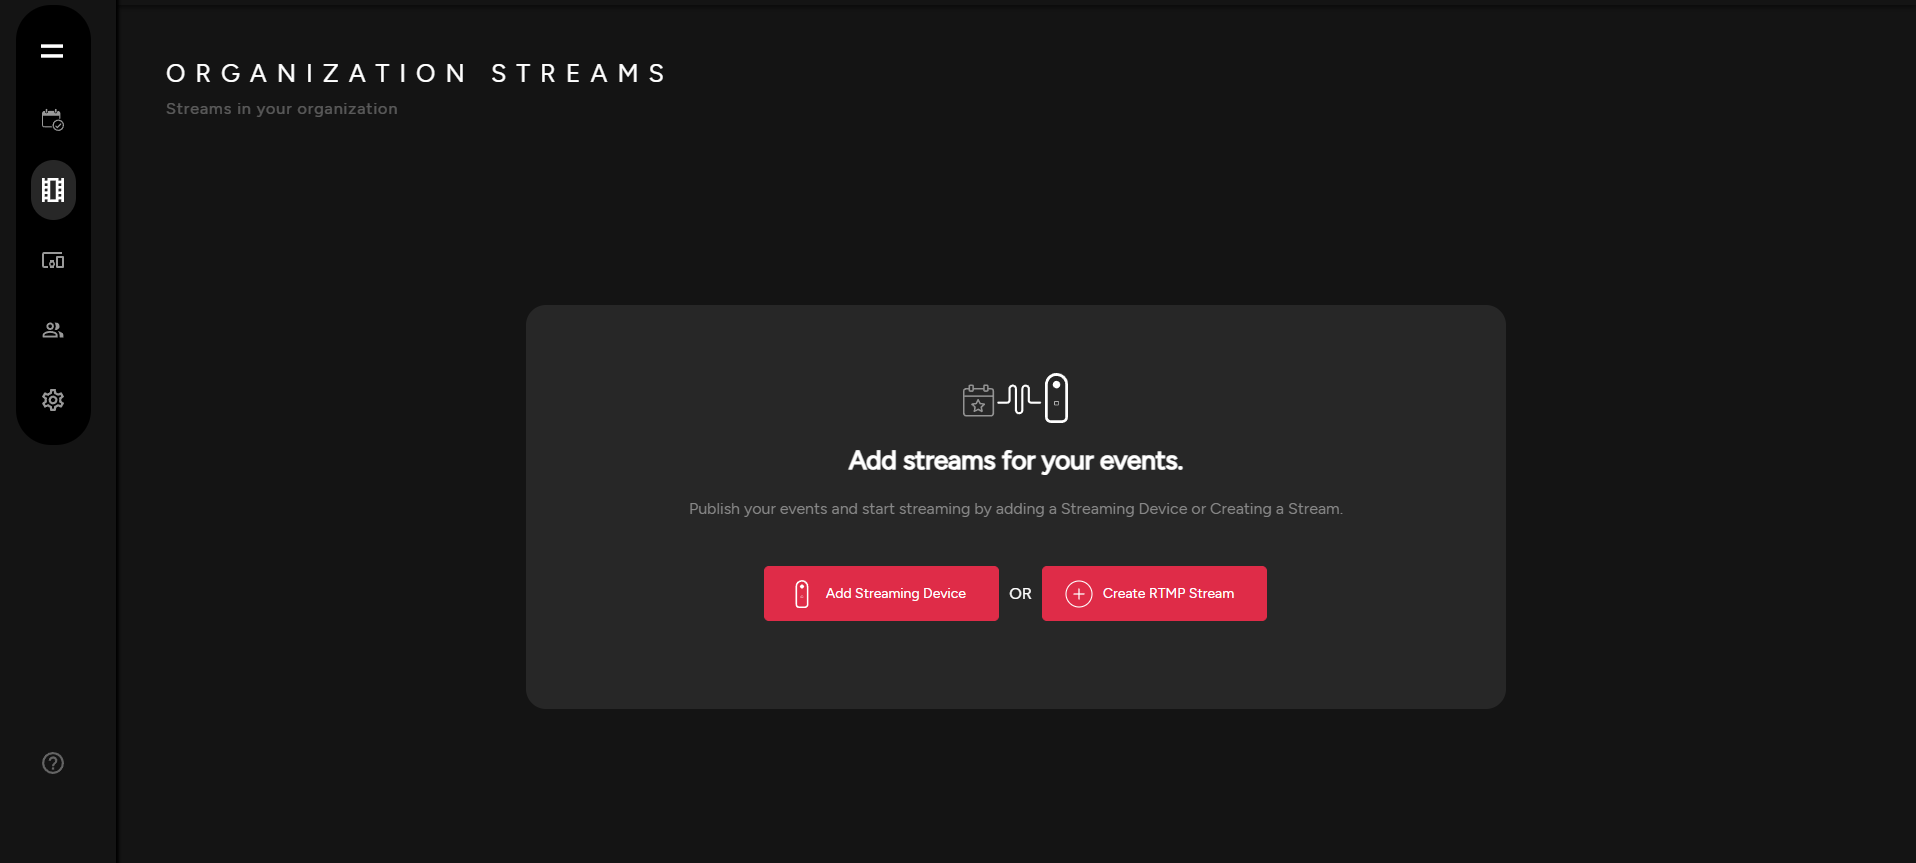
Streams
2. Create and manage your Organization Streams.
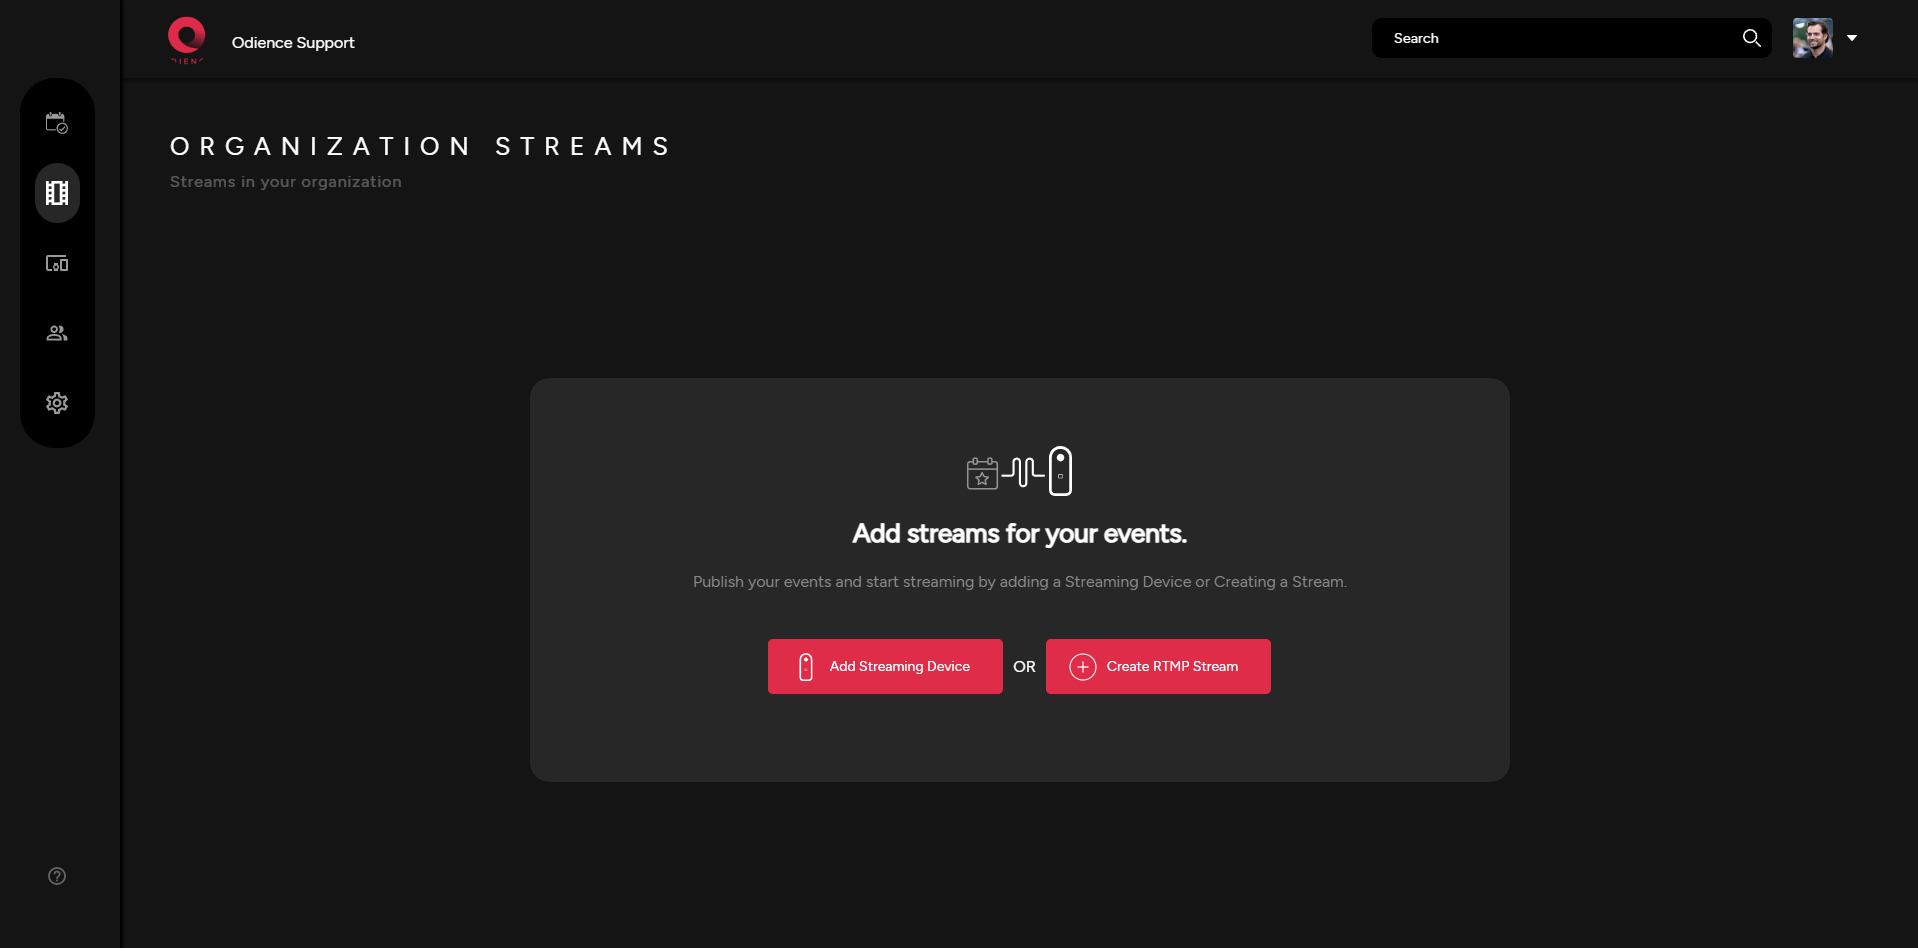
- For more information, see our guide on how to Create a Stream.
Devices
3. Create devices for your events.
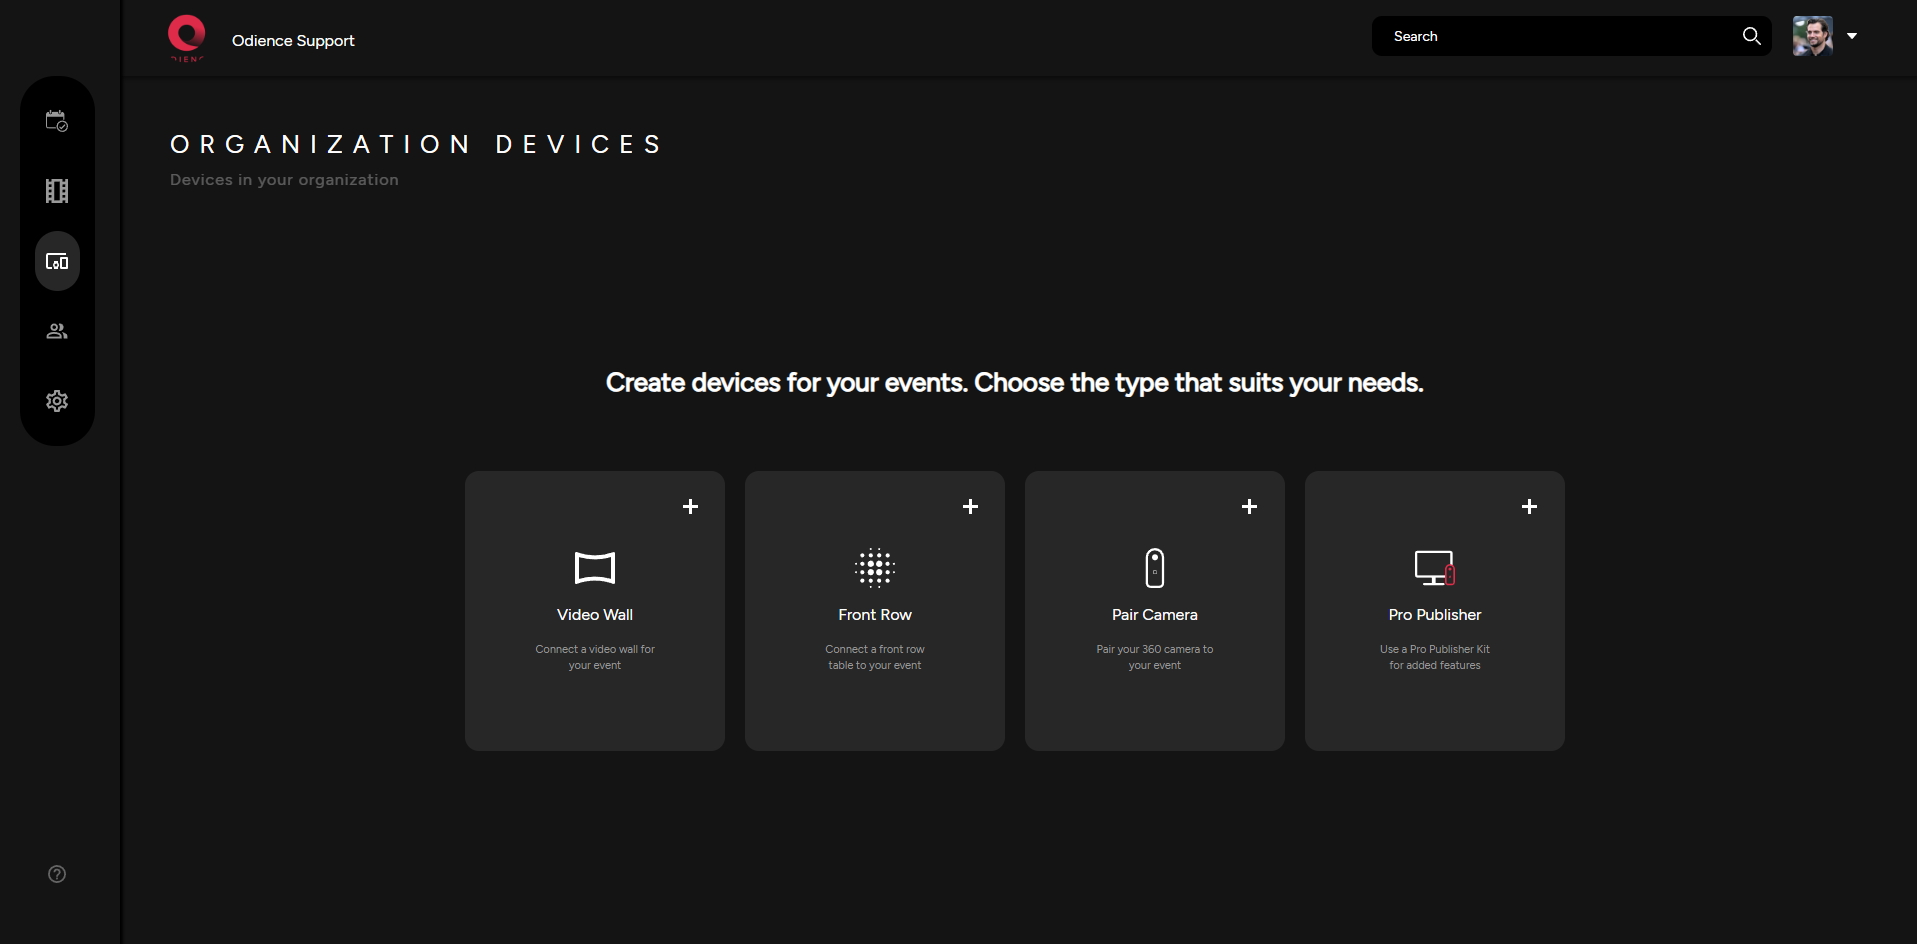
- For more information, see our guide on how to Create a Device.
Users
4. Create Users & manage User Roles.
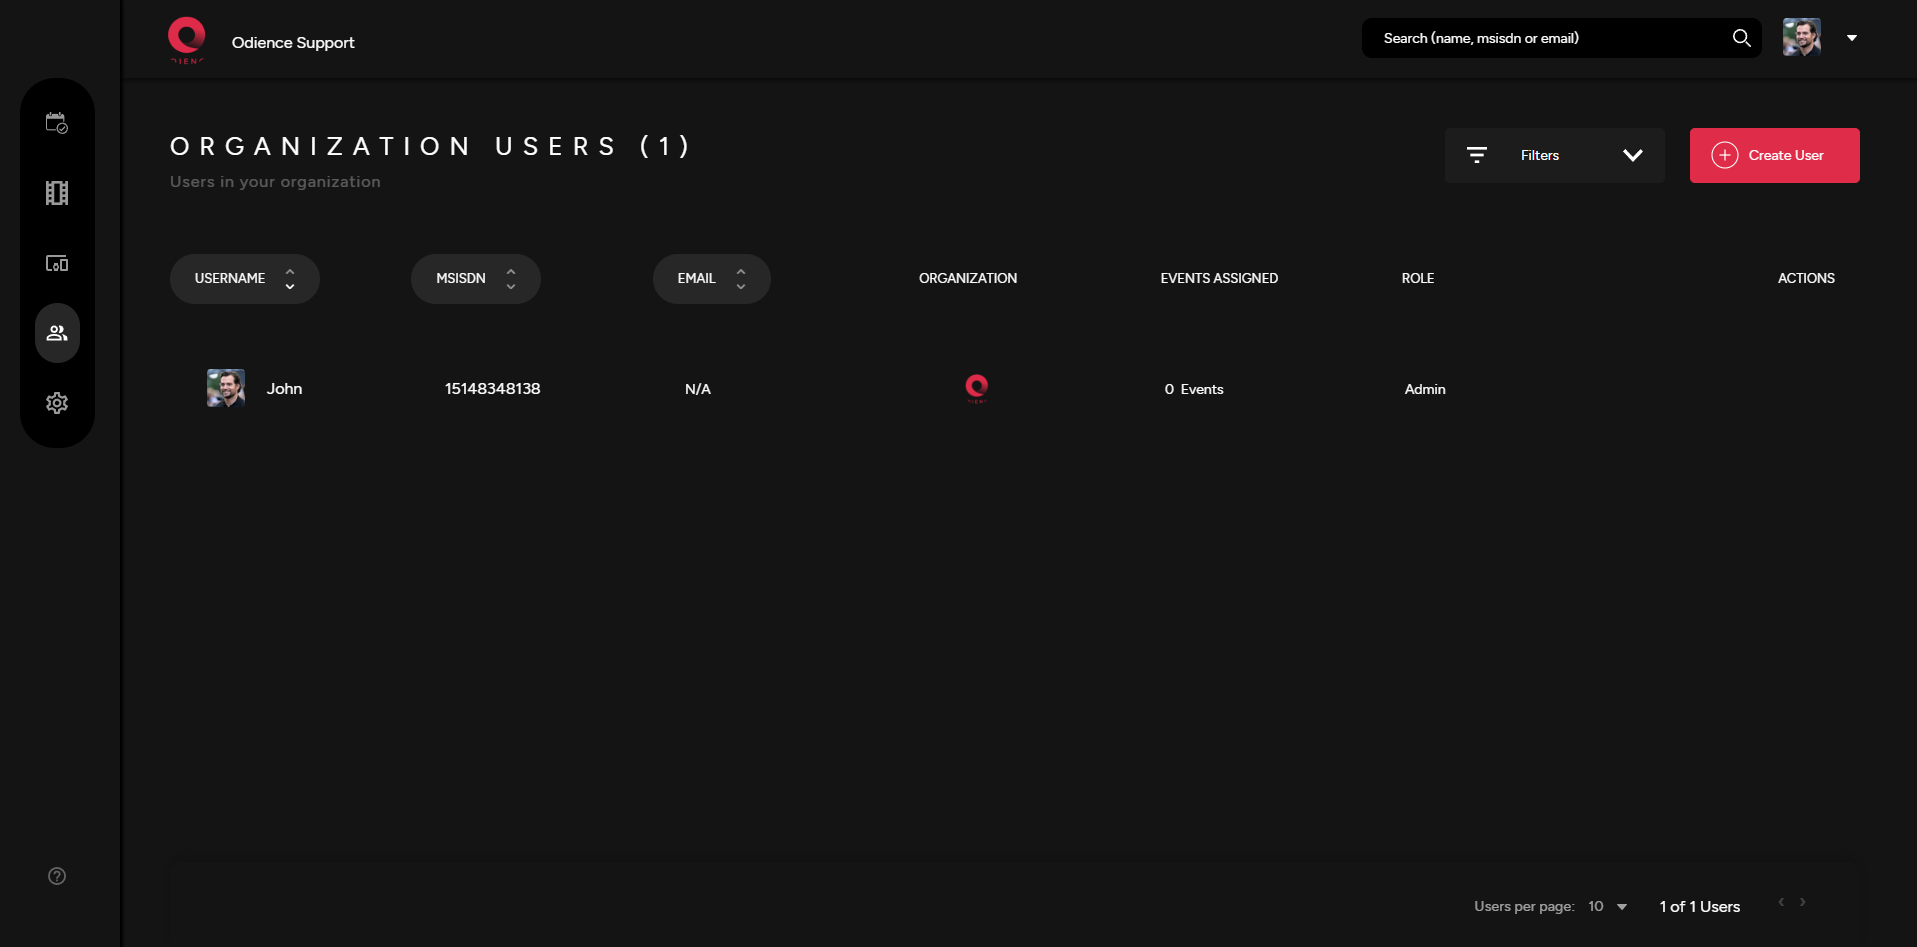
- For more information, see our guides on how to Create Users and manage User Roles.
Organization Settings
5. Manage Organization Settings as well as other areas of your Organization such as Invitation Templates & Guest Lists.
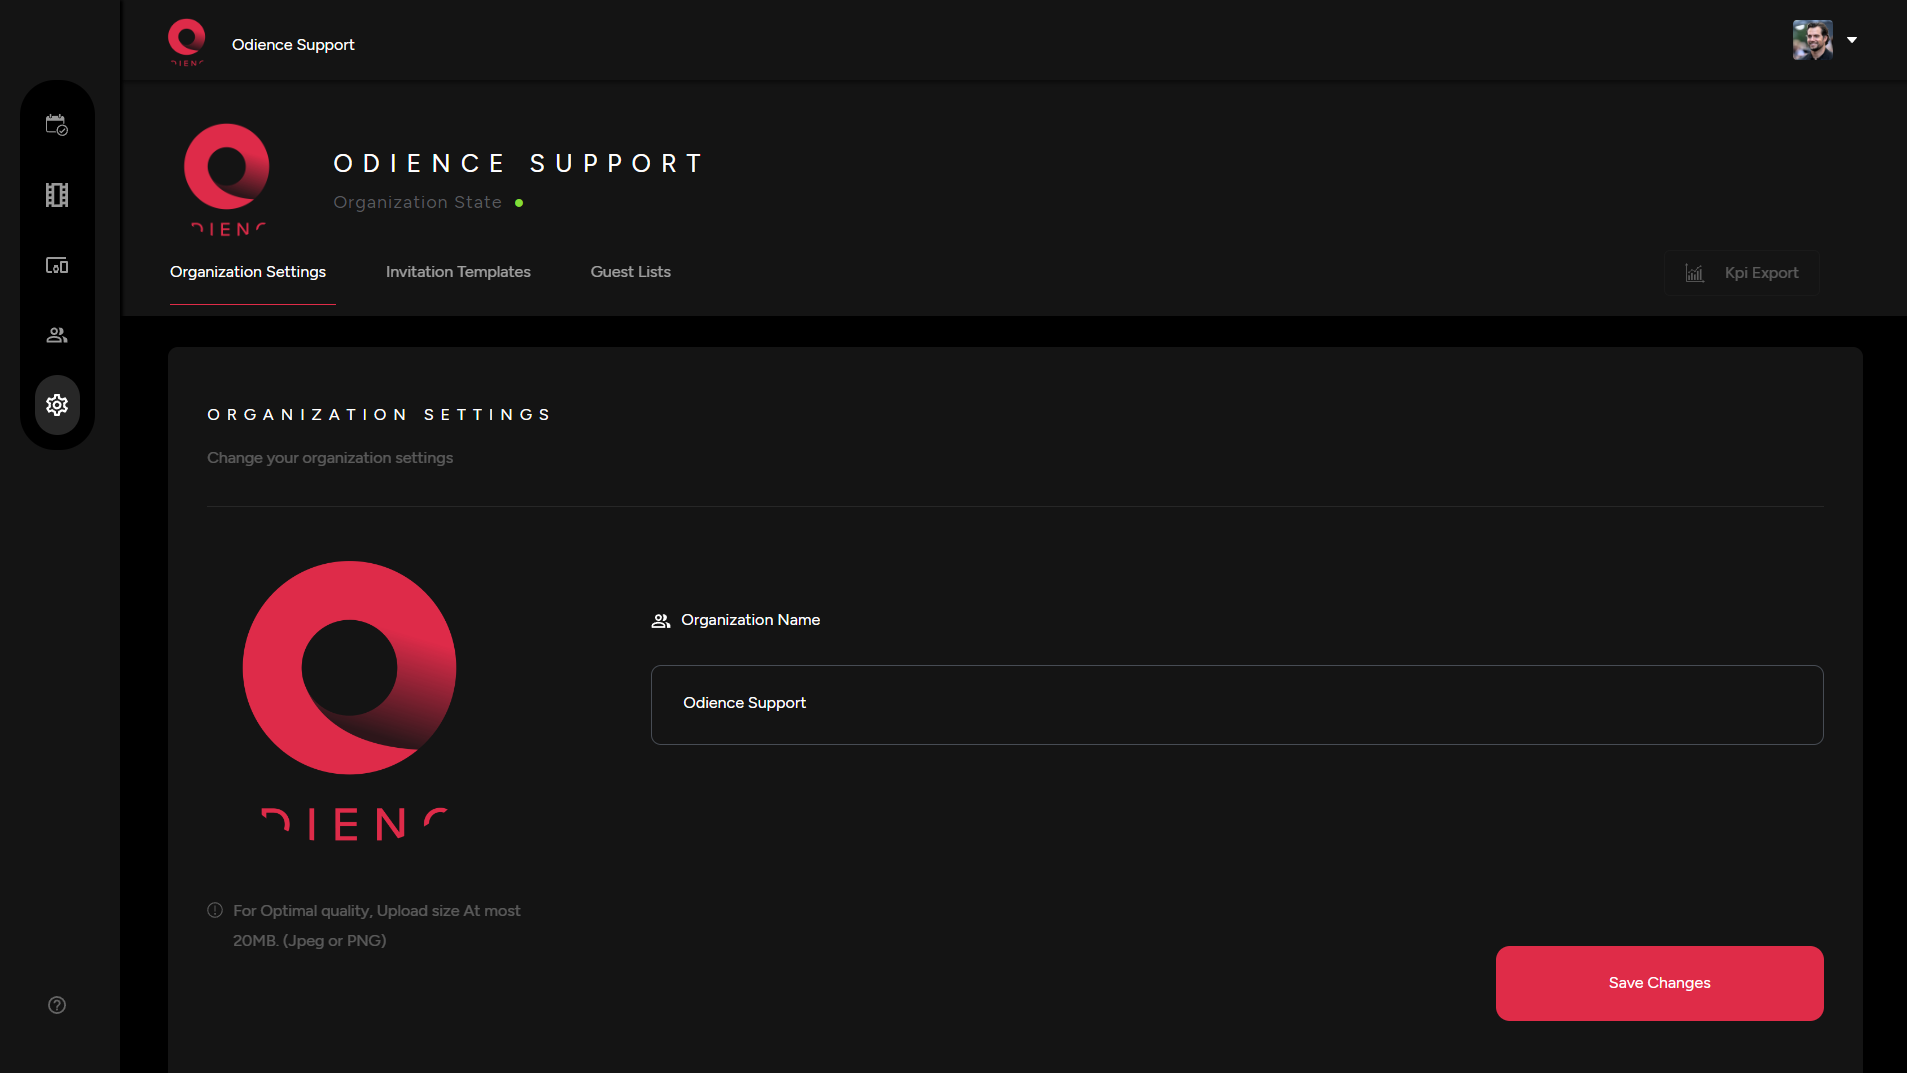
- For more information, see our guides on Organization Settings.
Create Account
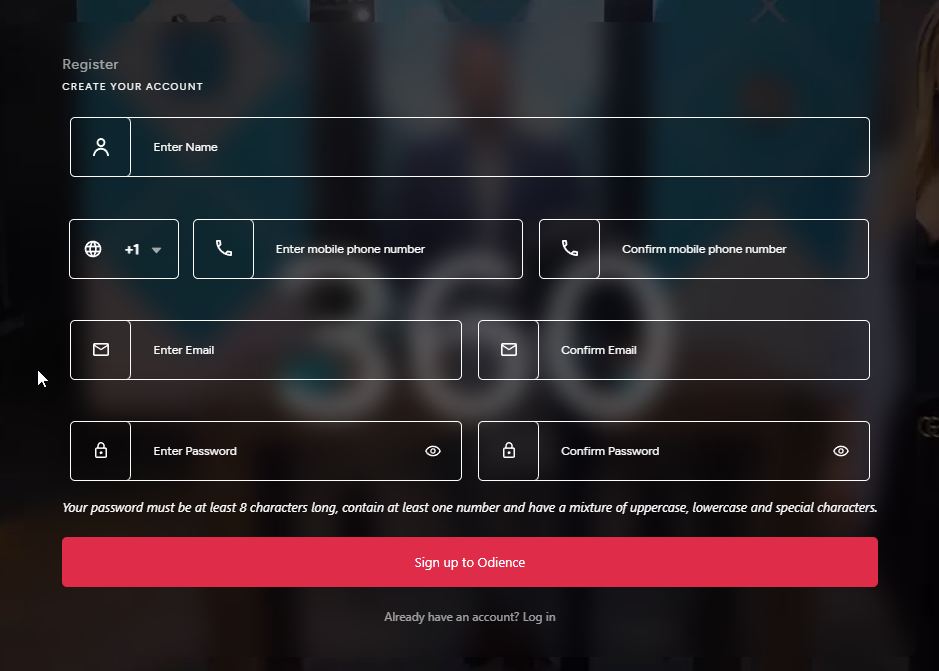
Register
Register an account by entering your information in all the fields. Upon clicking sign up, you will receive an email or SMS to confirm your registration.
Create Event & Start Streaming
Event Creation
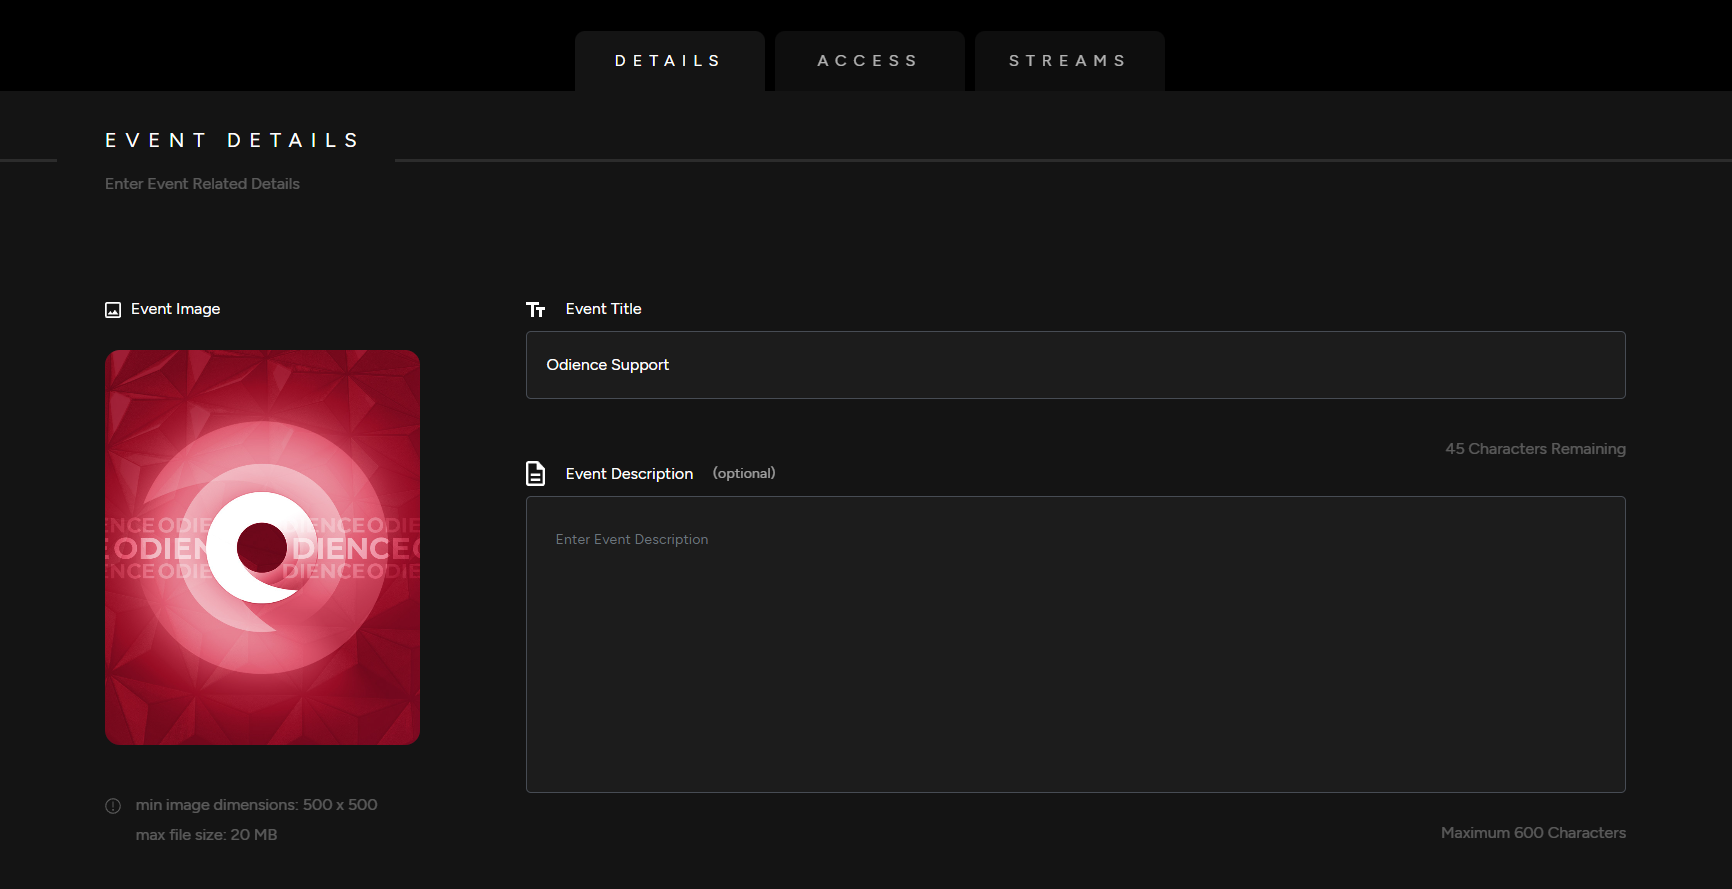
Details
1. Enter your your Event Details, Add a Title, Event Image & Description (optional).
Event Type
2. Pick an Event Type.

Listing Add Ons
Note: All Listing Add Ons are optional.
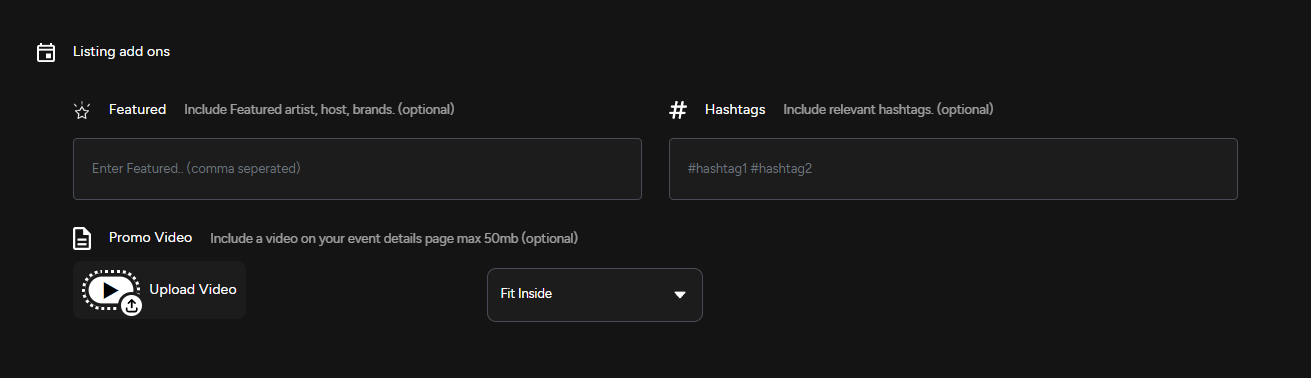
3. Include featured artists, host and brands. Use relevant hashtags & upload a promo video to engage your audience.
Access
4. Select which Platform your event will be published on. Publishing options include our mobile app, the web client, or using a head mounted display (Supported on all VR headsets, including Vision Pro).
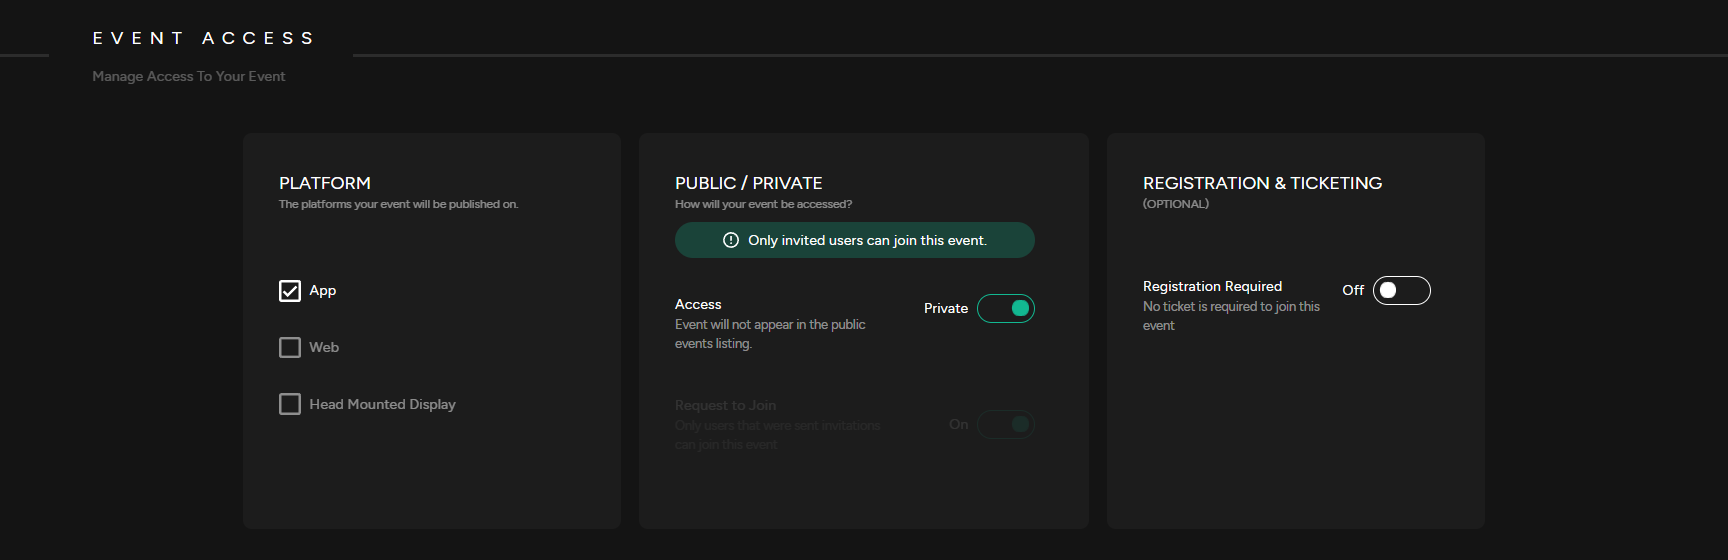
5. Public or Private
- Private Event: A Private Event does not appear in the public events listing. Users will need to be invited to access the event.
- Public Event: A Public Event is listed in the public directory and visible to everyone .
- Request to Join: If enabled, users will need to request to join the event.
6. Registration & Ticketing (optional): Enable registration before joining your event. Set-up a ticketing system that allows you to administer free or paid tickets. Select a platform to distribute your tickets, pick a currency & include ticket classes to sell different types of tickets.

7. Select the Start/End date of your event, set a capacity & add an event location (optional)
Streams
8. Pair a Camera by scanning QR code pop up or create and assign an RTMP stream to your event.
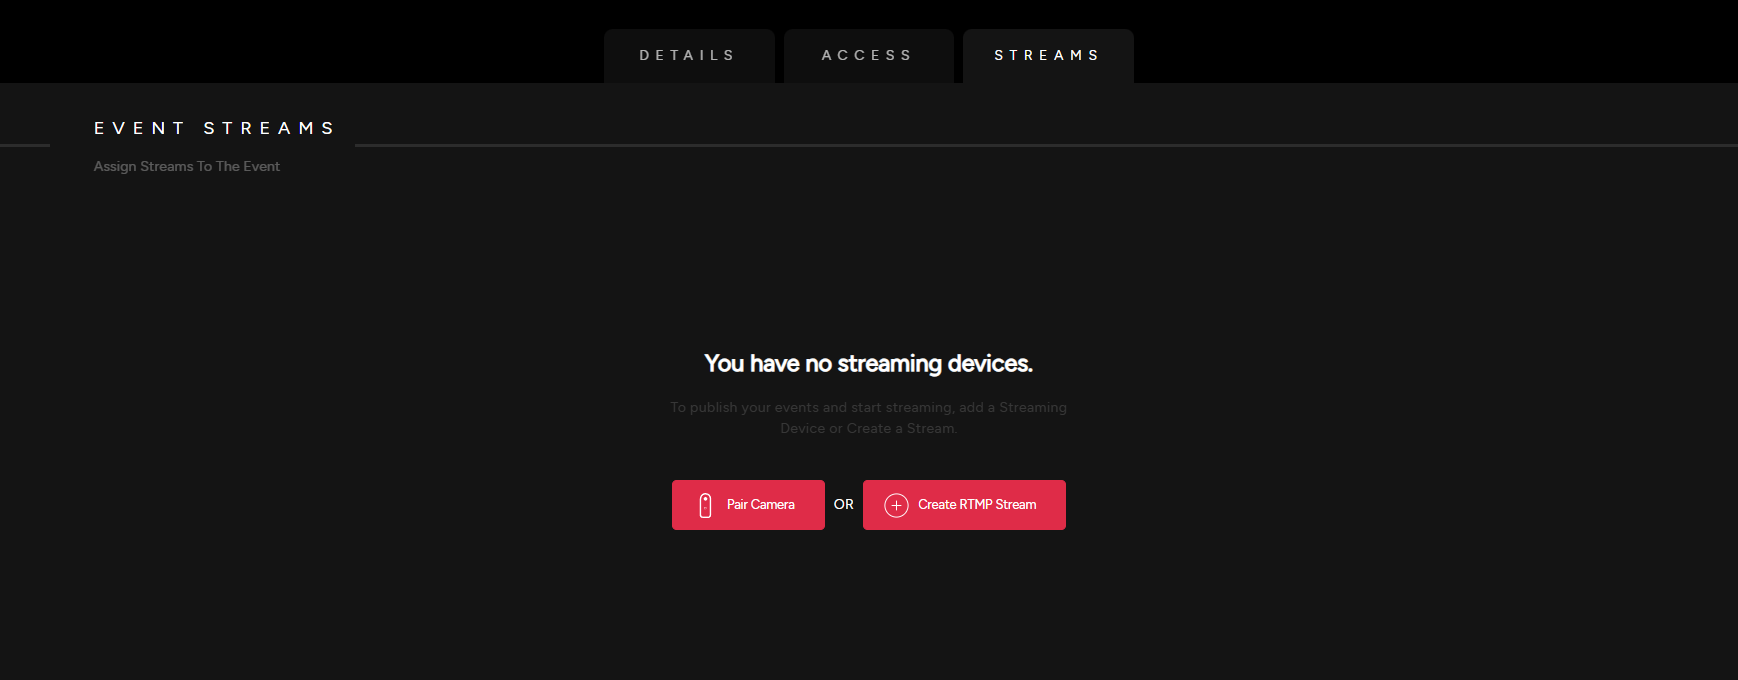
- See our detailed guide on how to Create an RTMP Stream.
Create RTMP Stream
Create Stream
Create a 2D planar video stream or a 360 videos stream in less than a minute, it's that easy.
Stream Details
- Give your stream a name and select the resolution of your preference.
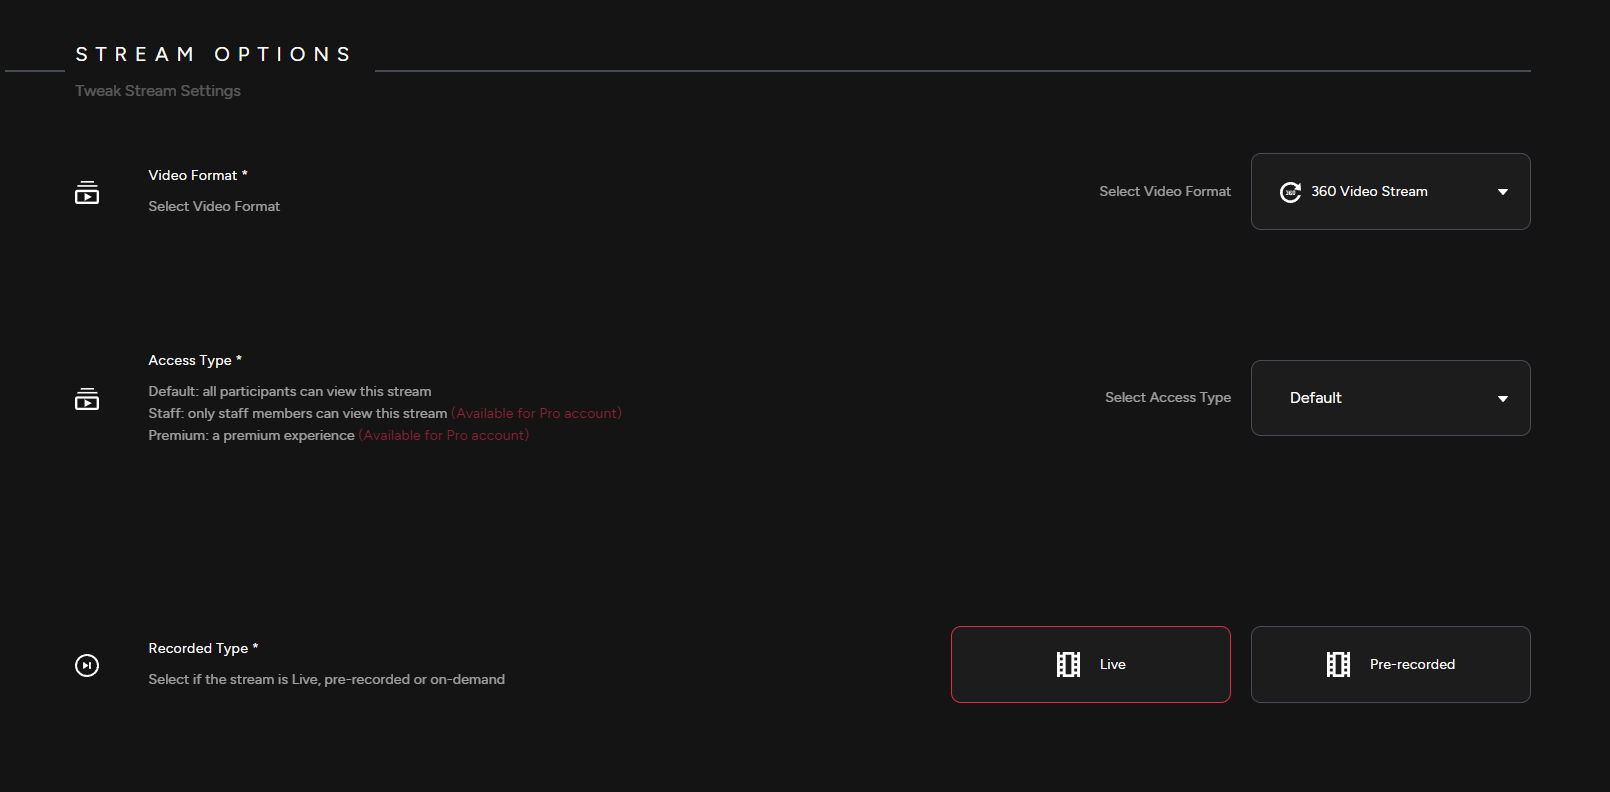
Stream Options
- Pick your preferred video format, access type and recorded type depending if it will be a live stream or a pre-recorded one.
Events Assigned
- Assign your stream to an event. Click Create Stream to confirm.
Pair 360 Camera
Note: Only select cameras are currently supported through Bluetooth pairing. For all other cameras, see our Create RTMP URL section.
Add 360 Camera
- Select Add Streaming Device. You will be directed to your devices options, select Pair Camera.

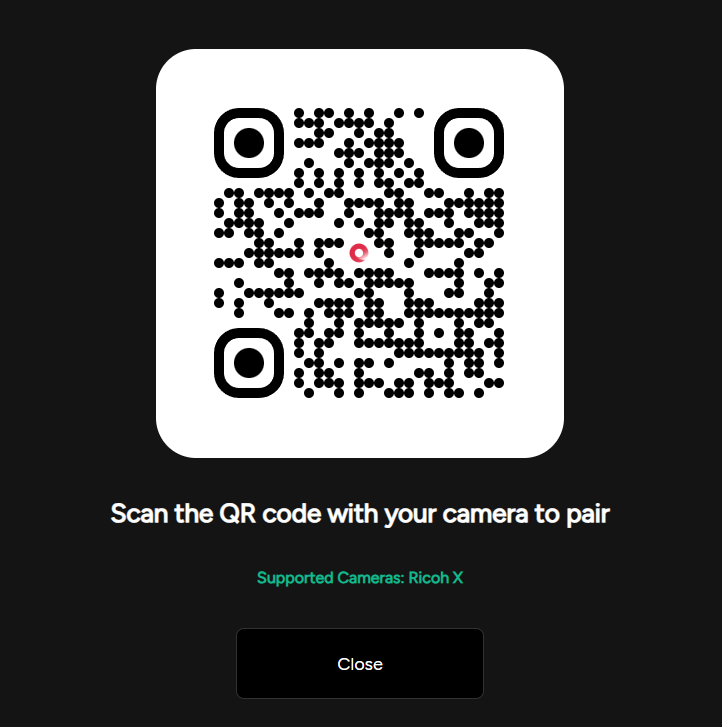
Pair Your 360 Camera
- Scan QR code to pair device.
Profile Settings
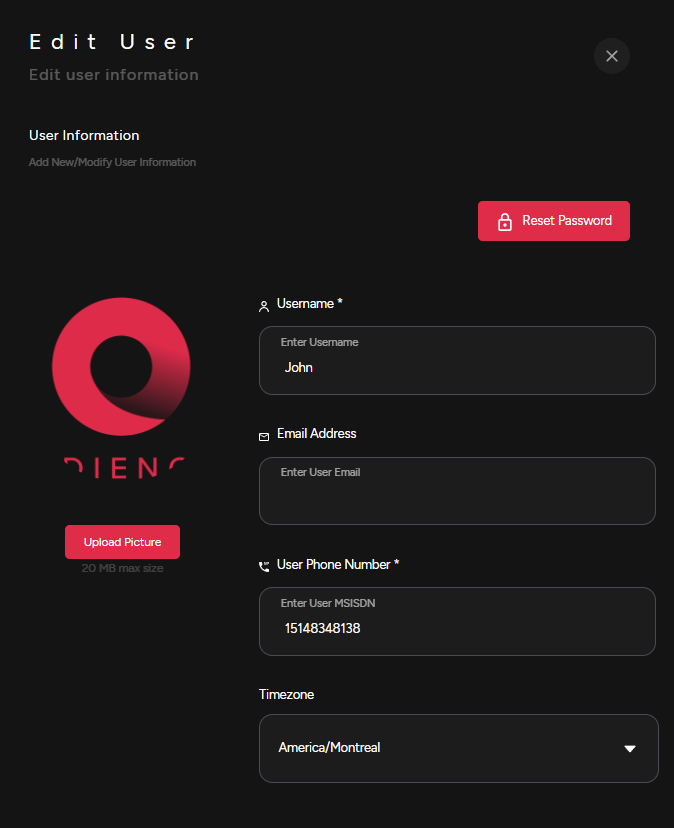
Edit Information
- Add new information or modify user information.
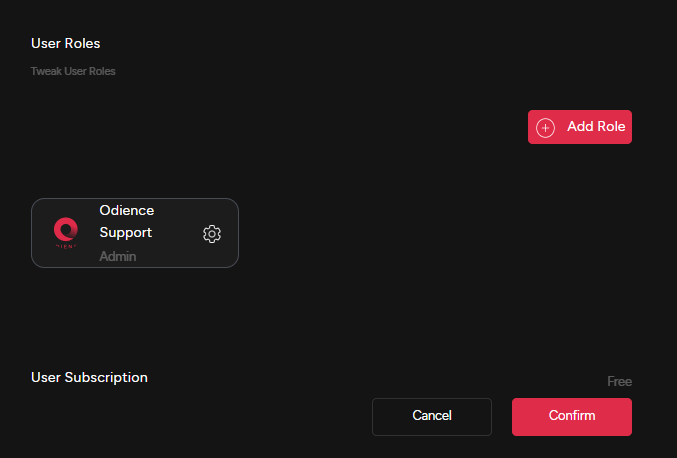
User Roles
- Adjust your role within your organization. Click Confirm to apply changes.