# Video Walls & Other Devices
# Video Wall
# App Video Wall
##### **Create App Video Wall**
- Whether you are setting up a Web or App Video Wall, the configuration process is identical. Here's how to create your very own App Video Wall
1\) Provide a Wall Name, select the Wall Type & then Assign it to an event.
[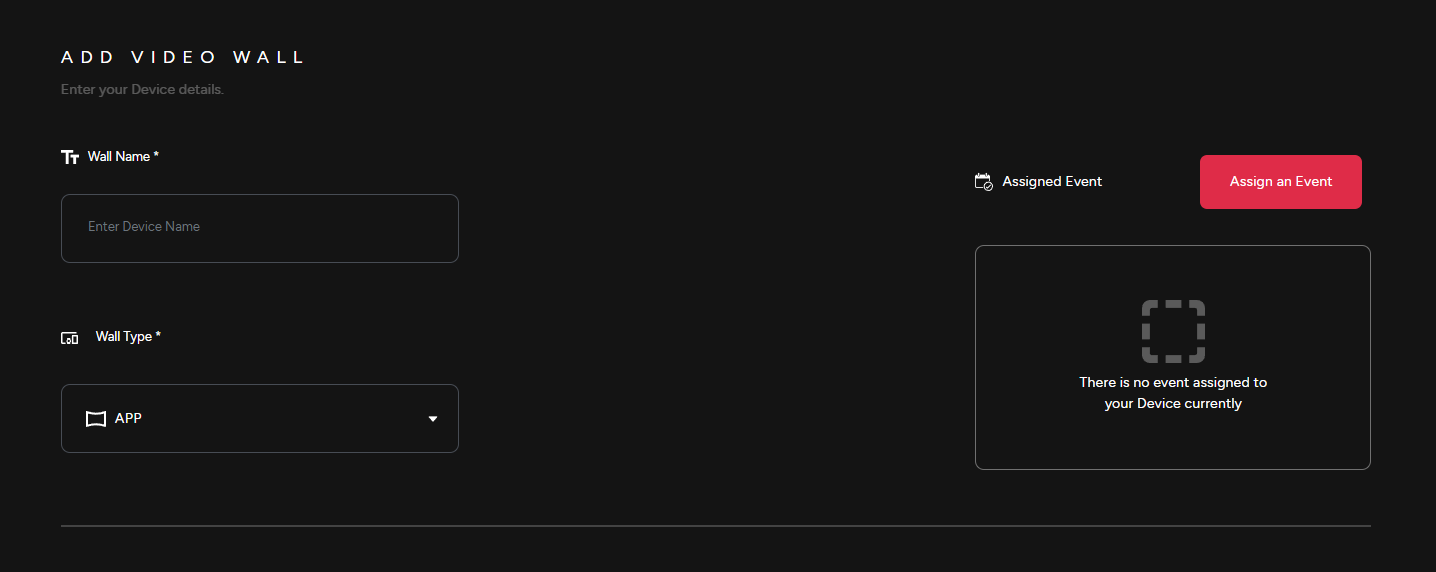](https://support.odience.com/uploads/images/gallery/2024-03/video-wall.png)
##### **Launch**
2\) Launch App Video Wall and go through installation process.
[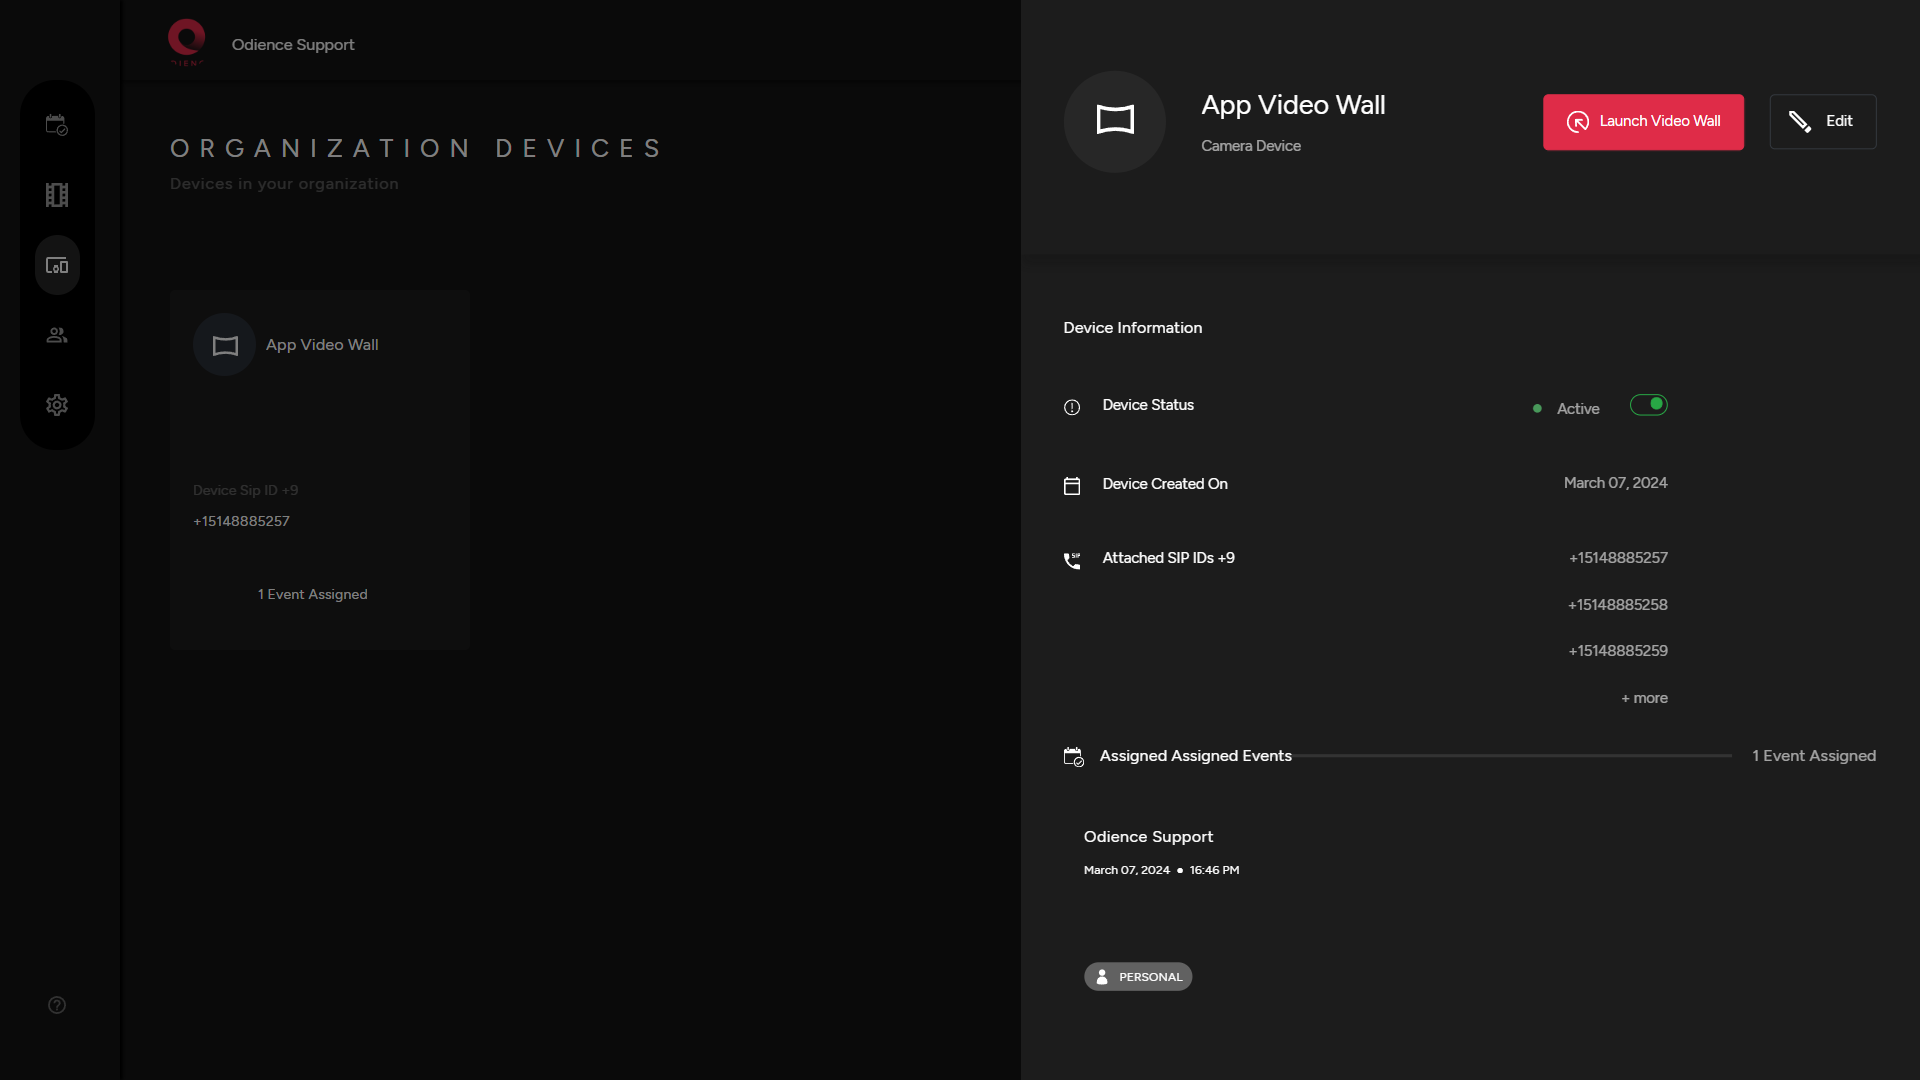](https://support.odience.com/uploads/images/gallery/2024-03/app-video-wall.png)
##### **Customize**
3\) Customize Video Wall display settings to fit your style.
[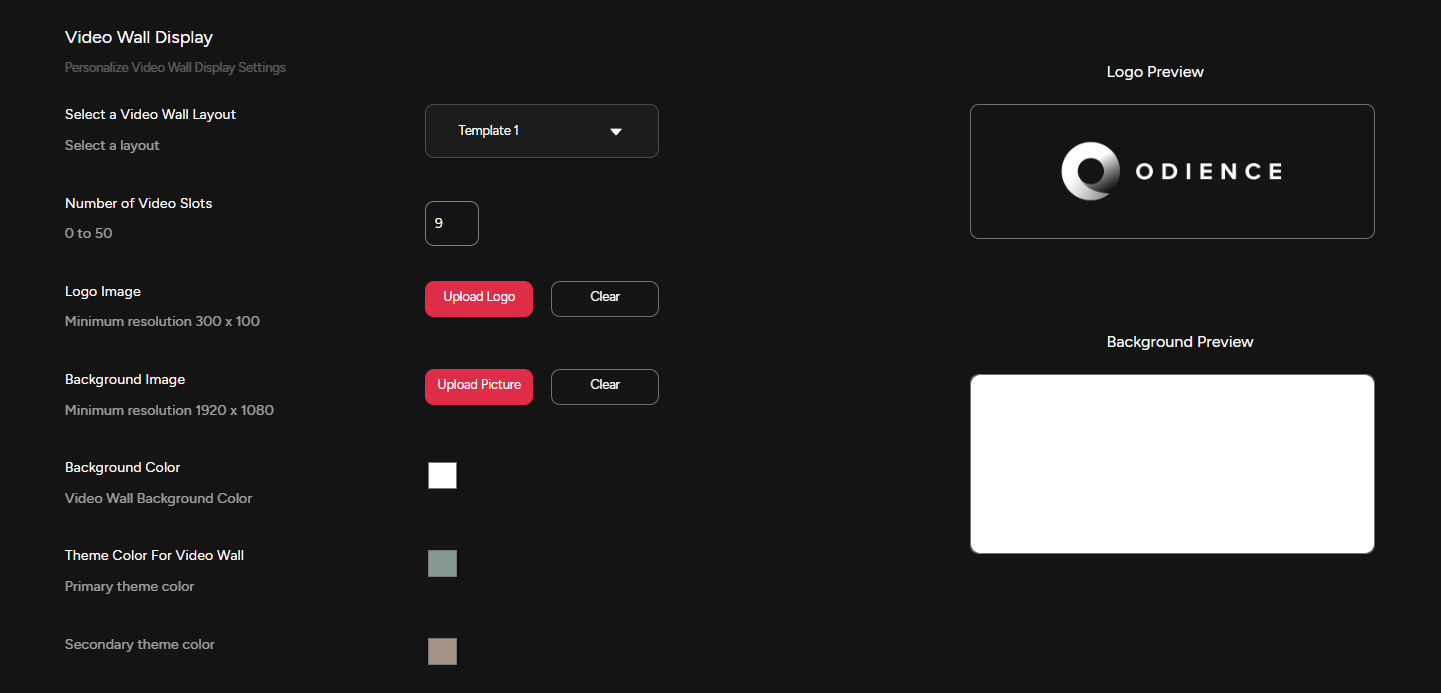](https://support.odience.com/uploads/images/gallery/2024-03/video-wall-display-settings.png)
4\) If Stream Chat is included, personalize stream message settings to fit your style.
5\) If Poll Bot is included, personalize Poll Bot Display Settings
##### **Media Content**
5\) Personalize and manage the content the that will appear on the Video Wall. Upload images, videos, import items from Event Product Feed or add icons from our Icon Packs.
[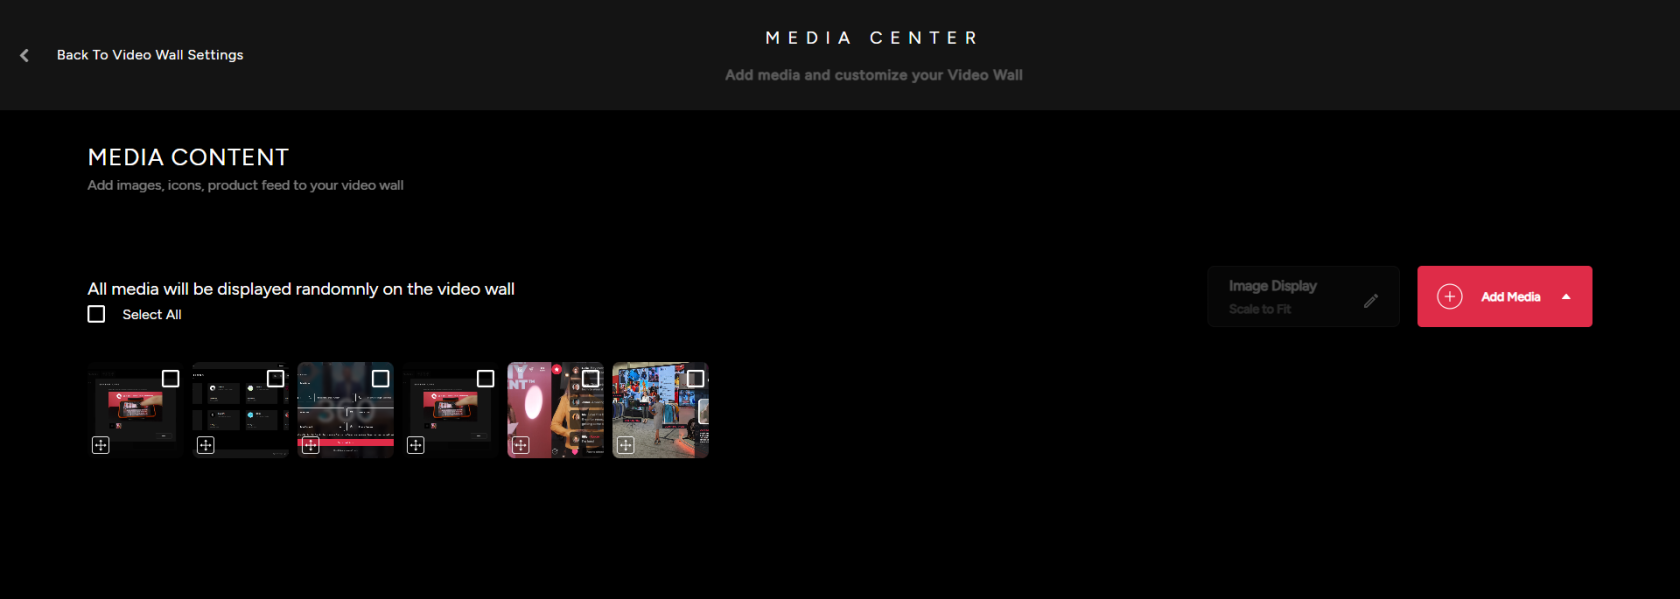](https://support.odience.com/uploads/images/gallery/2024-03/media-center.png)
# Web Video Wall
##### **Create Web Video Wall**
- Whether you are setting up a Web or App Video Wall, the configuration process is identical. Here's how you can create your very own Web Video Wall.
1\) Provide a Wall Name, select the Wall Type & then Assign video wall to an event.
[](https://support.odience.com/uploads/images/gallery/2024-03/video-wall.png)
##### **Launch**
2\) After creating your Video Wall, click on your newly created device & launch Web Video Wall.
[](https://support.odience.com/uploads/images/gallery/2024-03/q8Qweb-video-wall.png)
##### **Customize**
2\) Customize Video Wall display settings to fit your style.
[](https://support.odience.com/uploads/images/gallery/2024-03/video-wall-display-settings.png)
3\) Personalize Stream Message Settings.
4\) Personalize Poll Bot Display Settings.
##### **Media Content**
5\) Customize & manage the content the that will appear on the Video Wall. Upload images, videos, import items from Event Product Feed or add icons from our icon packs.
[](https://support.odience.com/uploads/images/gallery/2024-03/NsWmedia-center.png)
# Resolume Video Wall
Contact customer service for more information about Odience Resolume Plugins.
**Note: **Resolume Video Walls is only available for Pro and Enterprise accounts. For more information on different accounts, see our guide on** [Account Types](https://support.odience.com/books/account-types "Account Types").**
# Create Front Row Device
**Note:** Front Row is only available for Pro and Enterprise account users. [**Click here to upgrade to a Pro account.**](https://www.odience.com/contact)
##### **Create Front Row Device**
1\. Create Front Row device by entering a name, assign it to an event and then add device.
[](https://support.odience.com/uploads/images/gallery/2024-03/add-front-row-device.png)
2\. Assign Device to an event.
**Note:** Front Row is only available for Pro and Enterprise account users. [**Click here to upgrade to a Pro account.**](https://www.odience.com/contact)
# 360° Cameras
\- Scan the QR code with your camera to pair. The only supported camera is the Ricoh X
[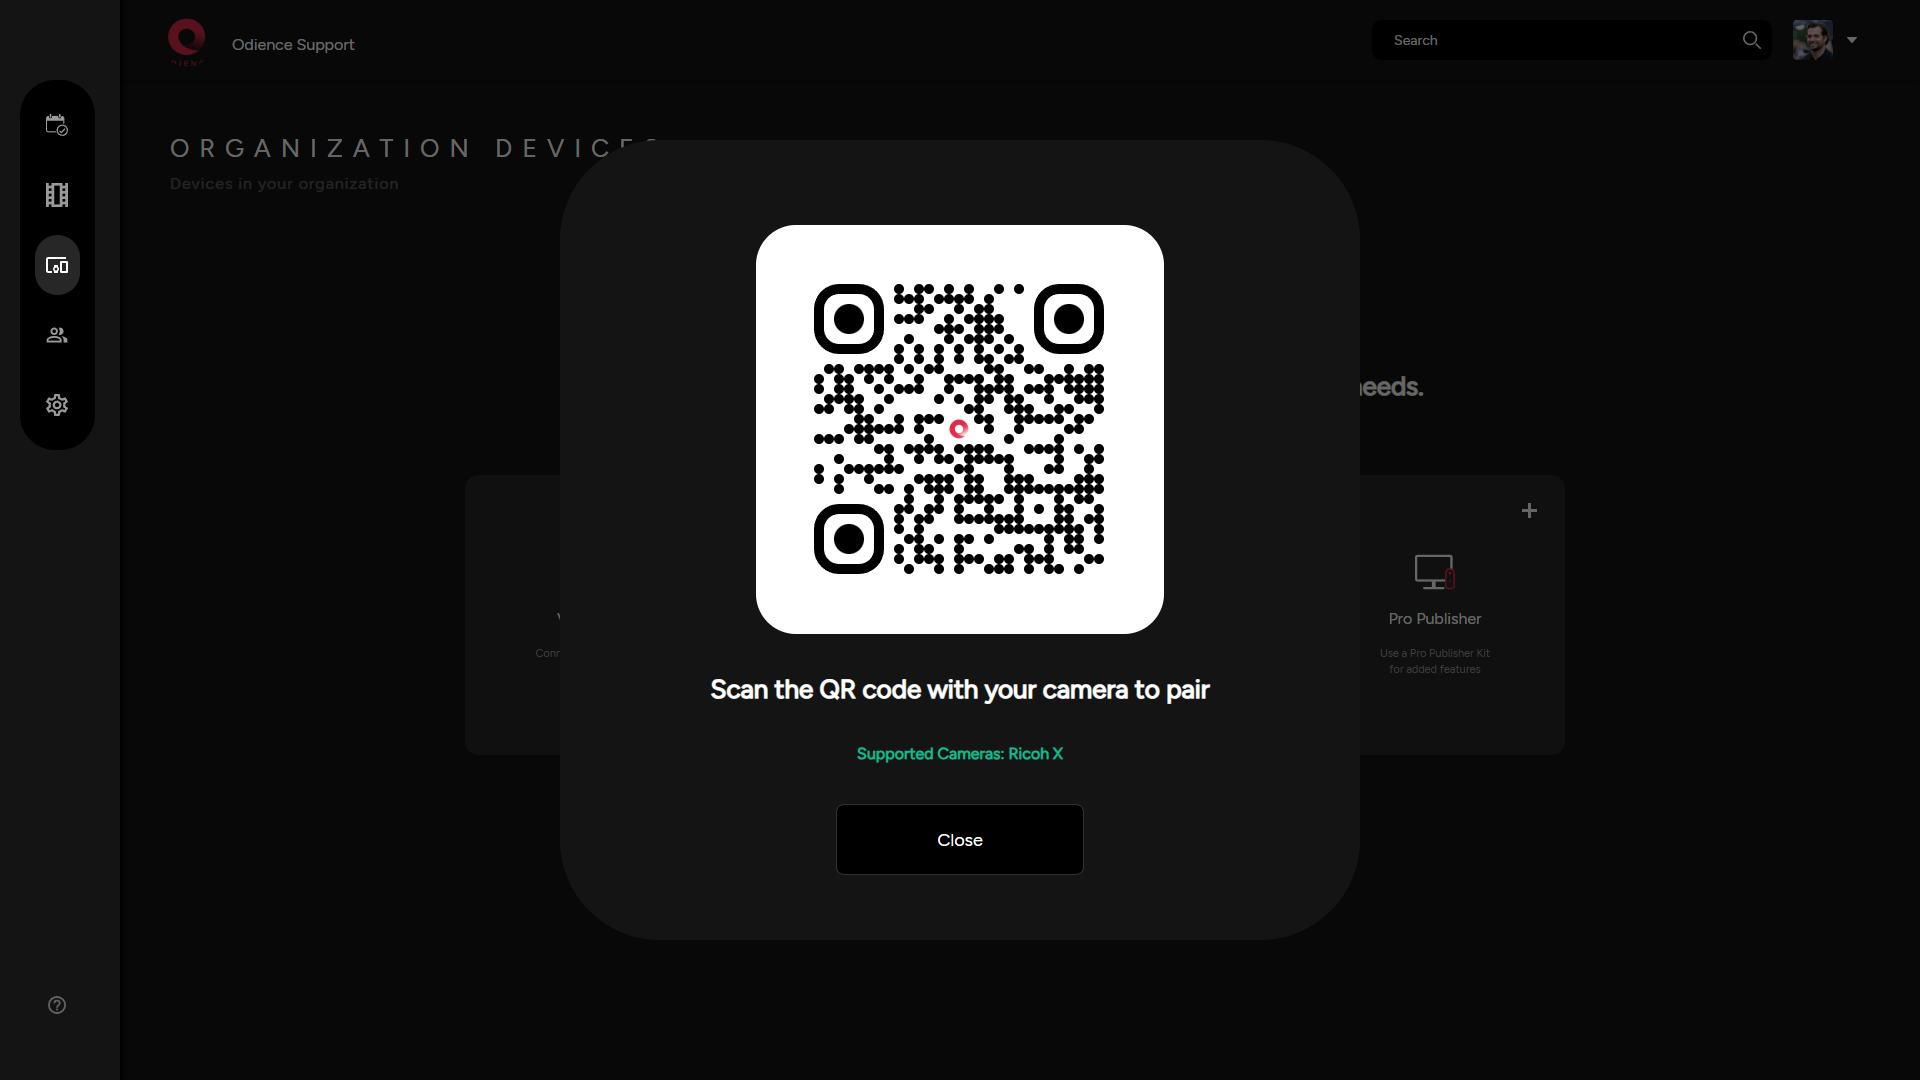](https://support.odience.com/uploads/images/gallery/2024-03/pair-a-camera.png)
\*More details to be included one Ricoh X pairing flow is reviewed
# Pro Publisher
\- For more information on Pro Publisher device, email us at **info@summit-tech.ca** or contact us [**here**](https://www.odience.com/contact).
[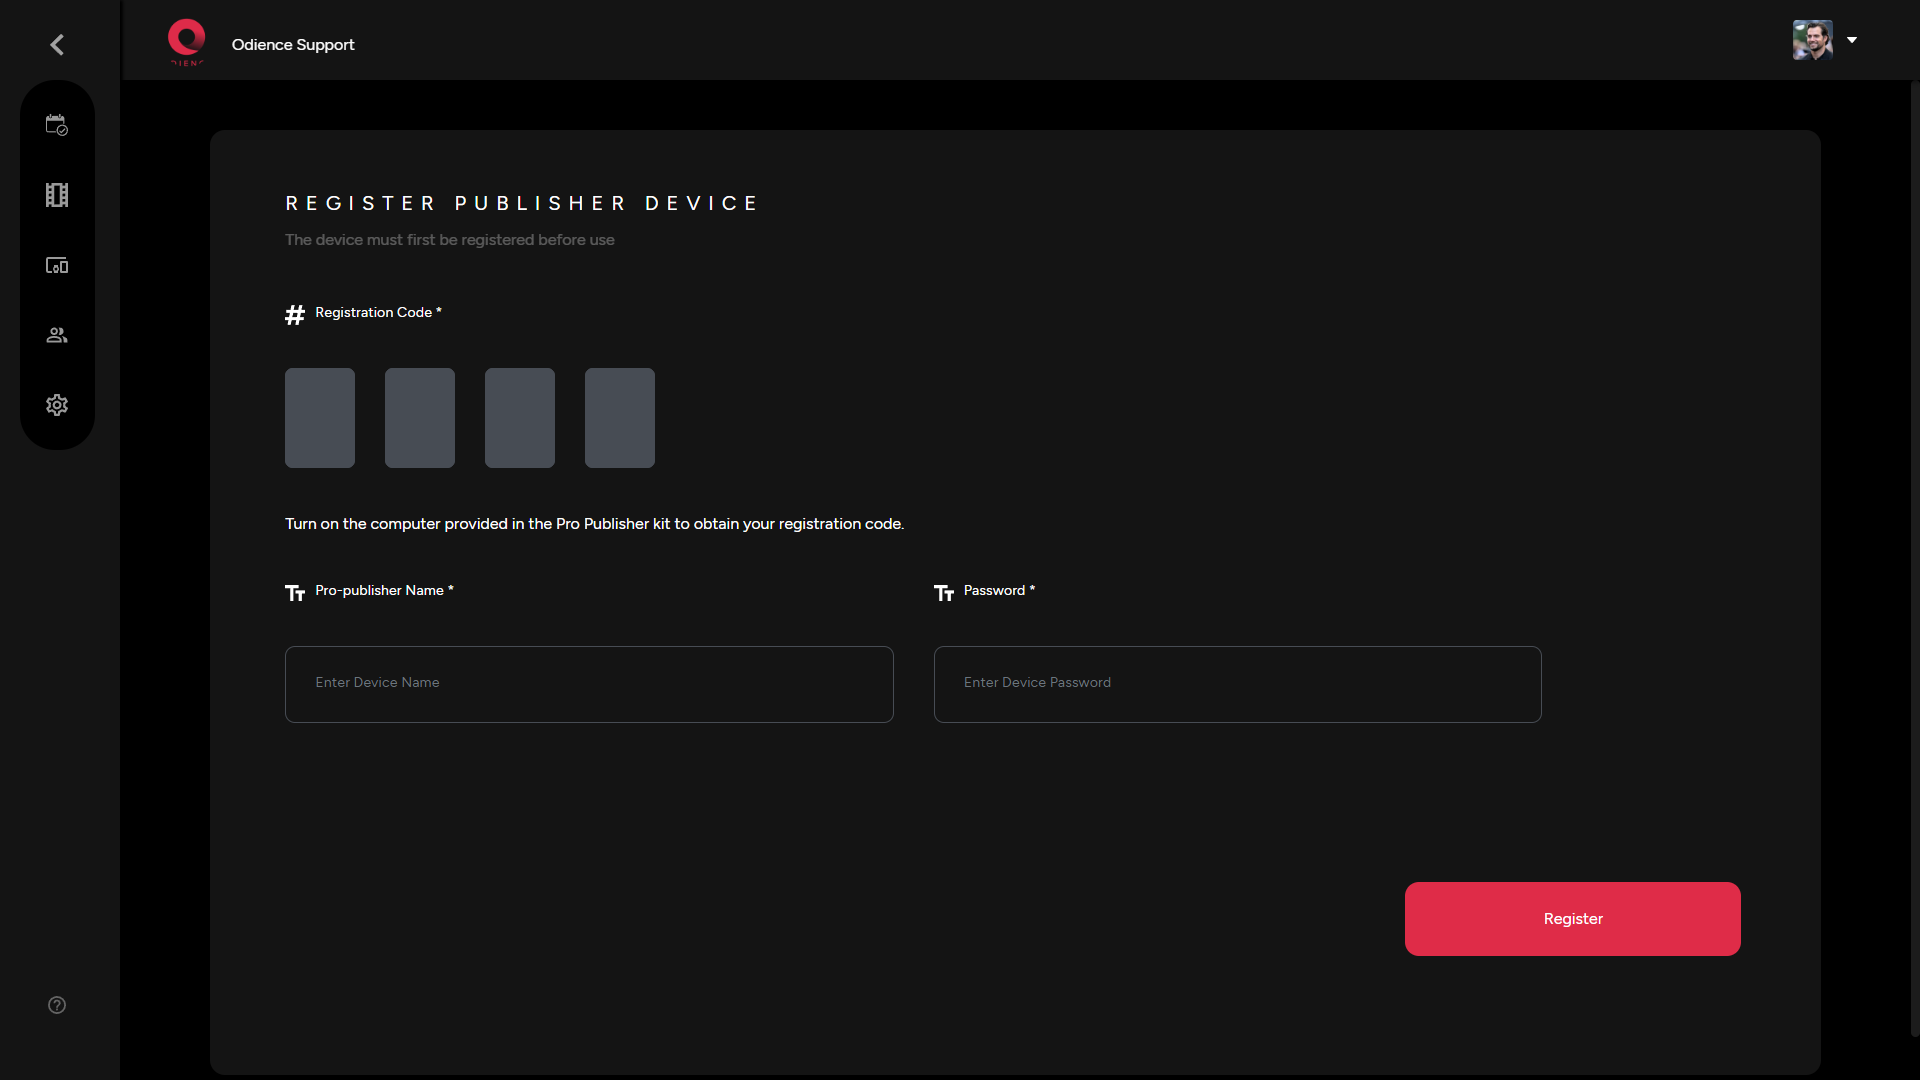](https://support.odience.com/uploads/images/gallery/2024-03/pro-publisher.png)