Event Creation
Details
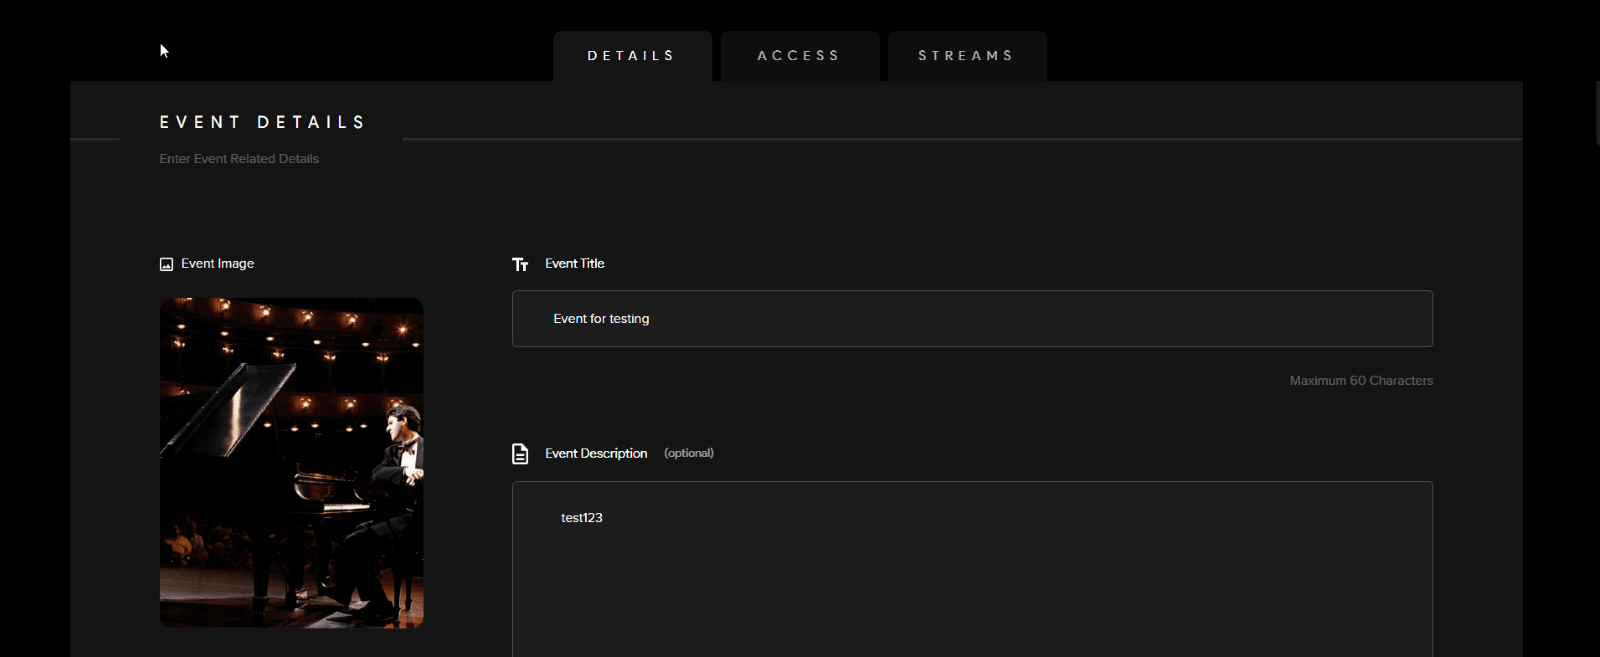
1) Select an Event Image (Note: Min. image dimensions 500 x 500 - Max file size: 20 MB)
2) Chose an Event Title (Maximum of 60 characters)
3) Event Description (Optional)
Event type
4) The event creator can select the type of event they are hosting. There is a wide range of event types as Odience has the versatility to serve more than one domain.

Listing Add Ons
5) Featured
- Include featured artists, host, brand. (optional)
- Include relevant hashtags (optional)
7) Promo Video:
- Include a video on your event details page to engage your audience and give them a feel for what's to come. (optional)
- Choose a video file to use as your promo video.
- You can trim the video length by selecting the video file you have just uploaded.
- You can also make visual enhancements to your video by selecting the tab beside the trim section.
- Click next to apply changes
- Lastly, in the dropdown just beside your promo video, you can adjust the display options of your promo video. Click the dropdown to adjust how you would like your video to be displayed. This will depend on the export settings of your video.
Access
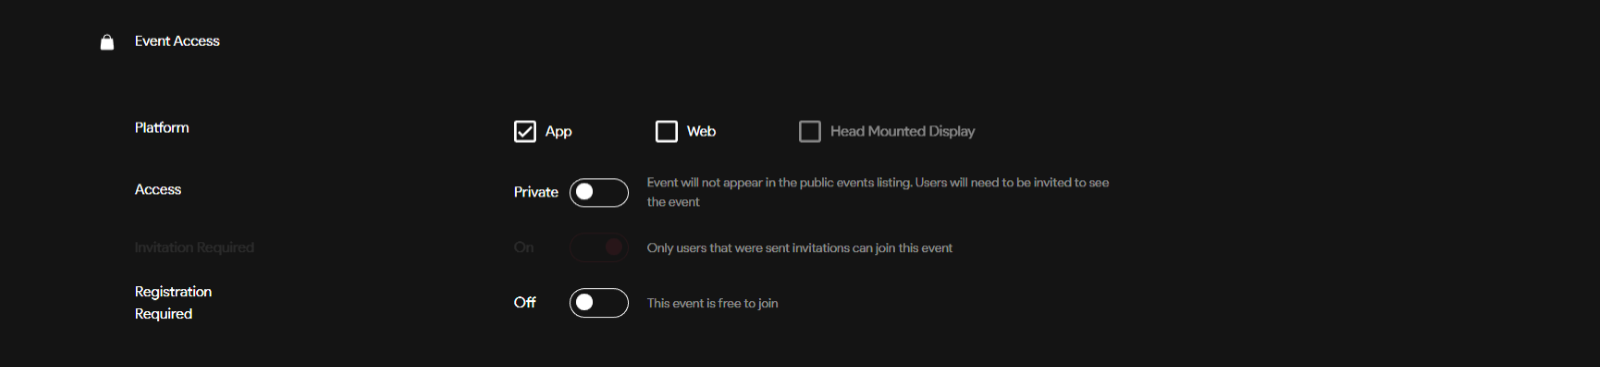
1) Platform
- Select where you would like your event will be published. It can be published on the mobile app, web client, or using a head mounted display (Supported on all VR headsets, including Vision Pro).
2) Access
- Private: The event will not appear in the public events listing. Users will need to be invited to see the event.
- Public: Event is listed in the public directory and visible to everyone
3) Registration & Ticketing
- A ticketing system where users must acquire a ticket, or many tickets, to join the event. (Optional)
4) Edit Tickets
- If registration to your event is required, you will be able to Edit Tickets.

Tickets

-
Ticketing Platform: Choose if you want the tickets to be distributed directly through Odience or with the supported third party ticketing platform called Eventbrite.
-
Tickets: Pick where the tickets to the event will be "free” or if they will need to be purchased.
-
Currency: If the tickets need to be purchased, select the currency they are being sold in.
-
Ticket Class: Different classes of tickets can be sold at different price points. There can also be a limited quantity assigned to a specific ticket class. For example, you can have General, premium & VIP tickets being sold at different price points and each at a set quantity limit.
5) Event Length
- Select the duration of your event. (Start date should not be further than 30 days from now)

6) Event/Viewer Capacity
- The event creator can decide on the capacity limit of their event. (Optional)

7) 5G Only Option
- The 5G only option essentially restricts the event access and use to users with devices that are supported by 5G.

8) Event Location (Optional)
- Event creators have the option to show where the event is being hosted.

Streams
Assigning an Existing Stream
- Select the drop down & pick a stream to add, then click assign to confirm your selection.
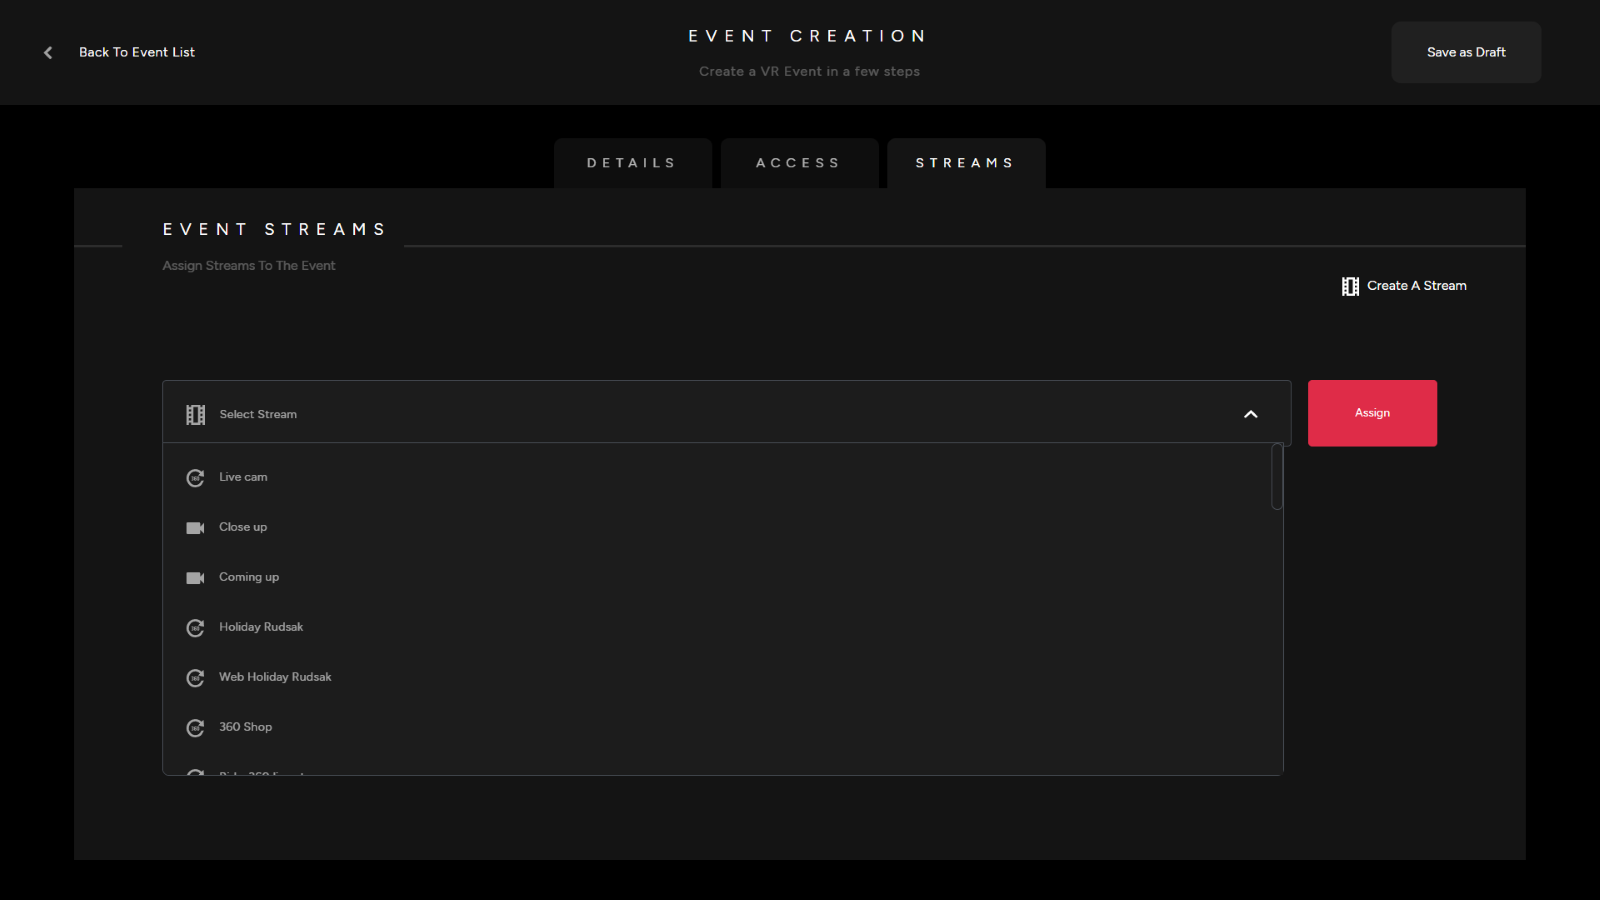
1) Select the “Create a Stream” option in the top right corner.
2) Pick a stream name

3) Select a stream format (RTMP, 3D, File, Cmaf/Dash)

If RTMP:If File:
4) Stream Resolution
2K, 4K, 8K, 4/8K, SD, HD, Web, Custom
5) Stream URL:
6) Download URL:

7) Pick a video format
Video Stream: A standard 2D planar video stream360 Video Stream: A stream that supports360-degreecamera (EG. Ricoh Theta X)
8) Access Type:
Default: Standard access for all typesStaff: Access to only staff membersPremium: Access only to premium members
8) Recorded Type
Live: A live video stream thatalsoprovidestheoptiontoberestrictedbya select time zone.Pre-recorded:A pre-recordedstreamthat can have a set timelimit. Set a video length in the field that pops up below.On-demand:selecting on-demand will allow the stream/event to be accessed by usersatanyday or time with no limits. The only limit that will need to be decided on is the length of the stream.
9) Stream Type
Standard: Select standard for your main video stream that will be the primary focus for audience membersPicture in picture: This stream type is strictly for events that are looking to implement aPiPcamera angleFloater: A floater is a video stream thatis layeredover themain streamof your event. This can be used as an alternate angle to help focus not just on one but multiple actionsoccurringwithin an event.Pre-Event:A pre-eventstreamis basically a video that plays prior to the start of the main event.This can be used as a promotion or leadup prior to an event goinglive.Post-Event:A post-event stream can be an exit video/outro after the completion of a livestream event.

10) Pre Stream URL
Select pre stream URL:TBD
11) Stream Loop
Play once or loop stream:pick whether you want your stream to constantly be playing in a loop or if you prefer it to endand direct viewers back to the event.
12) Preview Stream URL
TBA
13) Select Stream properties
Stereoscopic:The standardsetting for three-dimensionalviewing through a VR headset.Equirectangular: An equirectangular projection is a cylindrical equidistant projection, this is the standardoptiontoexperience 360events without a VR headset.
14) Stream Rotation
Adjust the rotation of your stream if the leveling of your video stream is uneven or lopsided.Values range from 0 to 360
15) Gamma Adjustment
Gammadescribes the relationship between a color value and its brightness on a particular device.Valuesrange from0 to 10.
16) Saturation Adjustment
Color saturation isthe intensity and purity of a color as displayed in an image.You can adjust the saturation of your stream.Adjust the saturation of your stream, values range from 0 to 10.
17) Select “Create Stream”